Cleaning laser lenses and optics
Quick answer
Clean a laser lens or mirror only after the machine is fully powered down and unplugged, lift it out to clean it rather than wiping it in place, and use light, straight-line strokes instead of grinding circular ones, since trapped debris scratches the coating permanently; a lens that keeps getting dirty fast is often a sign the exhaust or air assist setup upstream is not clearing smoke quickly enough, not a cleaning frequency problem.
This reflects widely shared maintenance practice for desktop laser optics rather than a single published standard, since cleaning schedules and cadence depend heavily on individual usage and material choices.
How do I know my lens or mirror needs cleaning?
The clearest sign is a drop in cutting or engraving performance at settings that used to work: a cut that no longer goes all the way through on the first pass, or an engrave that looks less crisp and darker than usual, even though nothing about the file or material changed. A visible haze or speckled residue on the lens surface when you look at it directly is the confirming sign, since smoke and vaporized material condense onto the coldest nearby surface, which is usually the lens.
Checking on a fixed interval rather than waiting for performance to visibly drop catches buildup earlier, before it forces you to compensate with higher power or slower speed settings that put more heat into the material and the machine than necessary.
What is the safe way to remove and handle the lens?
Power the machine down completely and unplug it before touching any optics, both for electrical safety and so the head does not move unexpectedly while you have a hand inside the gantry. Handle the lens by its edges only, never touching the optical surface with bare fingers, since skin oils leave a residue that is difficult to remove cleanly and can etch into some coatings over time. Set it down on a soft, clean surface rather than directly on a workbench while you clean it, and note which side faces down before removing it so it goes back in the same orientation.
Why does cleaning technique matter more than the cleaning product?
A lens coating is a thin, soft layer, and the actual damage risk during cleaning comes from grinding trapped grit across that coating under pressure, not from the cleaning liquid itself. A light, straight-line wiping motion in one direction, lifting the wipe away and using a fresh section rather than dragging the same debris back and forth, avoids embedding hard particles into the coating. Pressing hard or scrubbing in tight circles is the technique most likely to leave permanent fine scratches, even with an otherwise appropriate cleaning material.
How often should I check the lens on a laser I use often?
A machine run daily or near-daily for cutting work, which produces more smoke than light engraving, benefits from a quick visual check every few sessions rather than waiting for a performance drop to notice. A machine used occasionally for light engraving can go longer between checks. The right interval depends on your own usage pattern and materials more than a fixed universal number, so treat any published interval as a starting point to adjust based on what you actually see on the lens.
Why does my lens get dirty faster than it should?
A lens that fouls quickly is very often telling you something about airflow, not about the lens itself. If exhaust airflow is too weak to clear smoke away from the cutting head fast enough, more of that smoke condenses on the lens on its way past instead of being pulled out of the enclosure. The same applies to air assist: pressure too low to keep smoke off the lens during a cut lets residue build up faster than a properly tuned setup would. Fixing the airflow setup upstream often reduces how often lens cleaning is needed far more than any change in cleaning routine.
What should I never do when cleaning laser optics?
Never clean a lens or mirror while the machine is powered on or the head could move. Never touch the optical surface directly with bare fingers. Never scrub hard or in a circular motion, since that grinds any trapped particle across the coating instead of lifting it away. Never force a lens back into its mount if it does not seat the way it came out, since forcing it can crack the lens or misalign the beam path, which shows up later as a soft or off-center focus that is harder to diagnose than the original dirty lens was.
Equipment mentioned here
- VIVOSUN
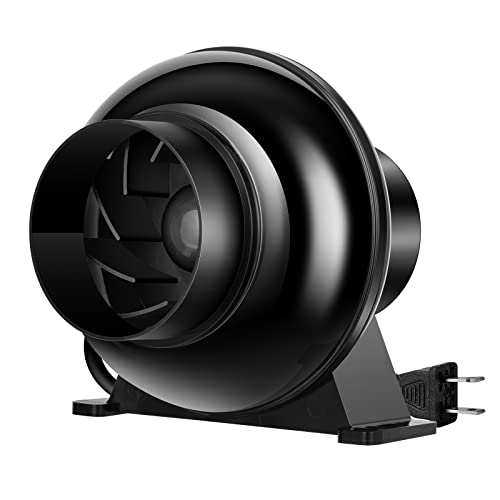
VIVOSUN P4 4" Inline Fan &Speed Control 130 CFM Exhaust Fan for Home
$26.39 Check pricePrices change often - VIVOSUN
VIVOSUN D4 4" AC Motor Inline Fan, 195 CFM for Ventilation
$27.89 Check pricePrices change often - Voltset
Voltset 4 Inch Duct Fan 280 CFM Inline Ventilation Exhaust Fan
$44.99 Check pricePrices change often - ANNOY TOOLS
Air Assist for Laser Cutter and Engraver 30L/Min Adjustable Air Assist Pump
$52.99 Check pricePrices change often - ACMER
ACMER C4 Air Assist Pump Kit, 30L Min Adjustable Airflow for Laser Engraver
$59.39 Check pricePrices change often



Safety
Common questions
How do I know if my laser lens needs cleaning?
Watch for cuts that no longer go through cleanly at settings that used to work, engraves that look duller or darker than usual, or visible haze on the lens surface itself. Checking on a fixed schedule catches buildup before it forces you to compensate with higher power settings.
Is it safe to clean a laser lens while the machine is plugged in?
No. Power the machine down completely and unplug it before touching any optics, both to avoid electrical risk and to prevent the head from moving unexpectedly while your hand is inside the gantry.
Can touching the lens with my fingers damage it?
Yes. Skin oils leave a residue that is hard to remove cleanly and can affect some coatings over time. Handle the lens only by its edges, and set it on a soft clean surface rather than directly on a workbench while cleaning.
Why does my lens get dirty faster than it used to?
A lens fouling quickly is often a sign that exhaust airflow or air assist pressure is not clearing smoke away from the cutting head fast enough, letting more residue condense on the lens during each job. Improving airflow upstream often helps more than cleaning more frequently.
What is the biggest mistake people make cleaning laser optics?
Scrubbing hard or in a circular motion, which grinds any trapped debris across the soft coating instead of lifting it away and can leave permanent fine scratches. A light, straight-line wipe in one direction, using a fresh section of material each pass, is safer than pressure or repeated back-and-forth motion.